On this page:
Proof required
You need to require a proof from the product's decorator before you can upload proofs to commonsku. If you have a PO that needs a proof, but you're missing the option to upload it, you'll need to:
To require a proof:
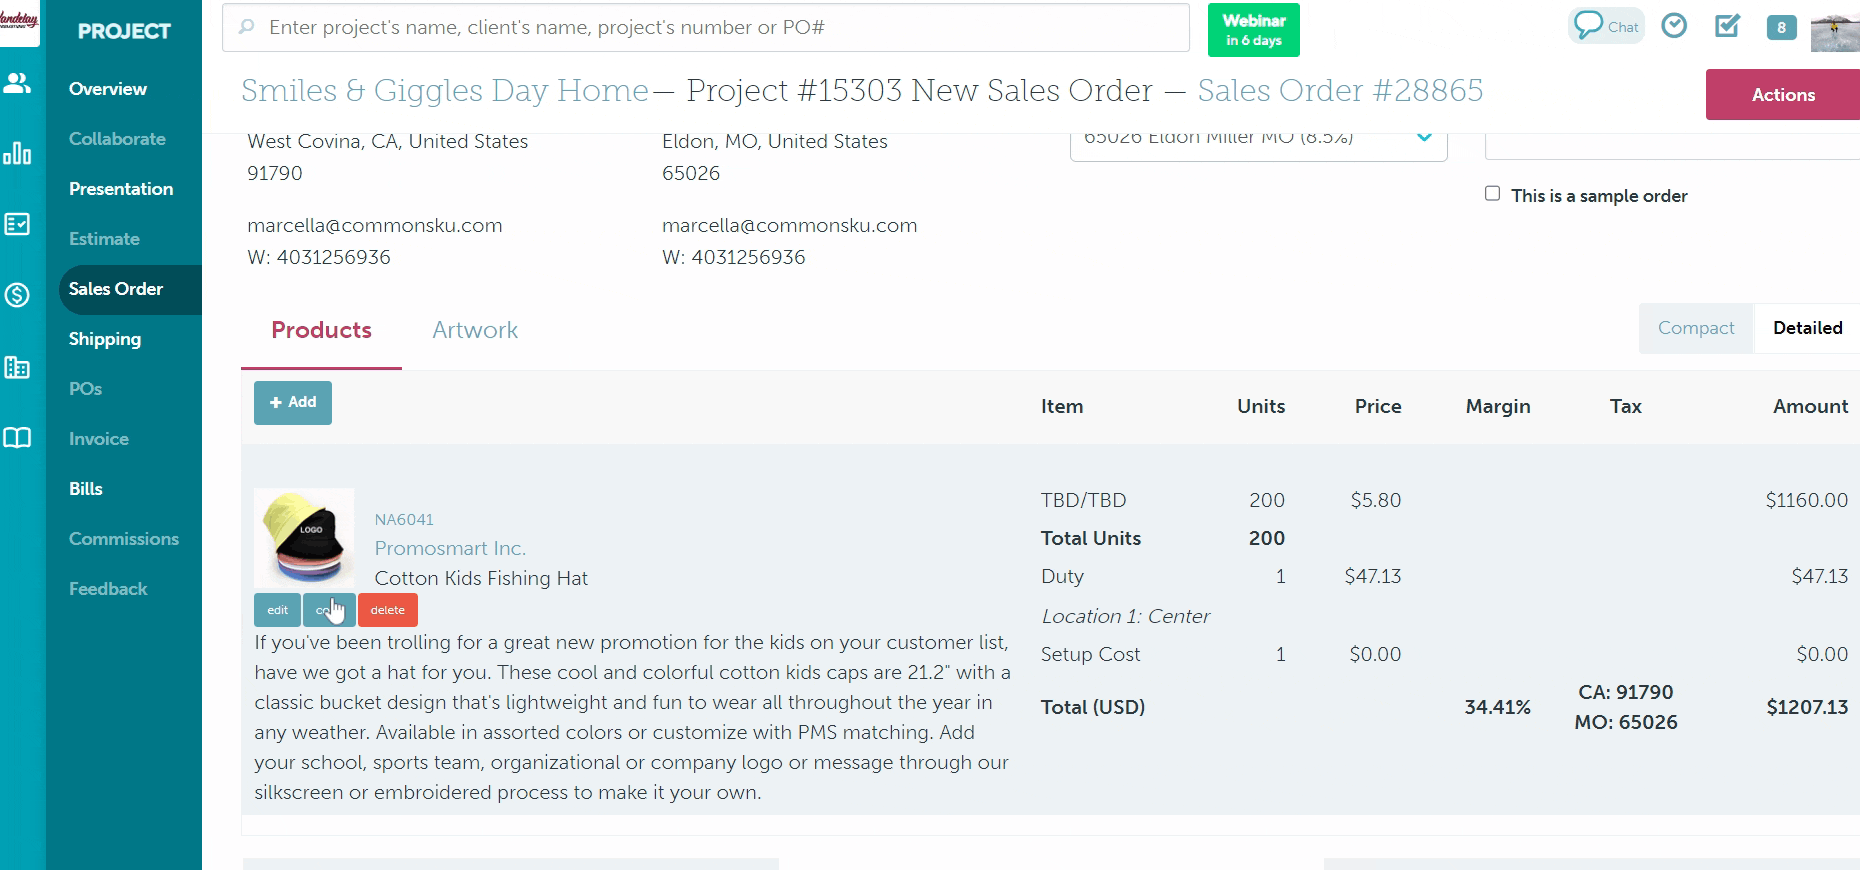
- In the sales order, click to Edit the product you need a proof for
- In the product edit screen, either add a new artwork location (click + Decoration Location) and fill out the artwork's details or click the artwork file of the existing decoration location
- In the "Update Artwork" screen, click the drop-down beside "Proof Required" and select Email Proof, Digital Photo, or Pre-production
- Enter the rest of the artwork details
- Click Save
To regenerate the purchase order:
- In the project's Purchase Orders Tab, select the checkboxes next to the purchase order(s) you need to regenerate
- Click Actions > Regenerate Selected POs
- Choose to Create a new PO# to create a new PO, or Regenerate as (existing PO#) to update the existing PO#
- Click Regenerate
Proof Status
Proof statuses track the progress of your proofs. Most of the statuses are automatically applied, but you can also change them manually.
Here's a list of the different proof statuses:
- Awaiting Proof - automatically applied when a PO is made; it means you are awaiting your supplier or decorator's proof.
- Proof Received - automatically applied once all of a PO's proofs are uploaded.
- Pending Approval - automatically applied when the proof approval form is emailed from commonsku.
- Change Requested - automatically applied if your client selects Request Change on their proof.
- Approved - automatically applied once the client selected to Approve their proof.
- Proofing Complete - this status requires a manual update. It means your client has approved their proof, and you've informed the supplier/decorator of their approval.
Managing your proofs
Learn more about:
Upload a proof
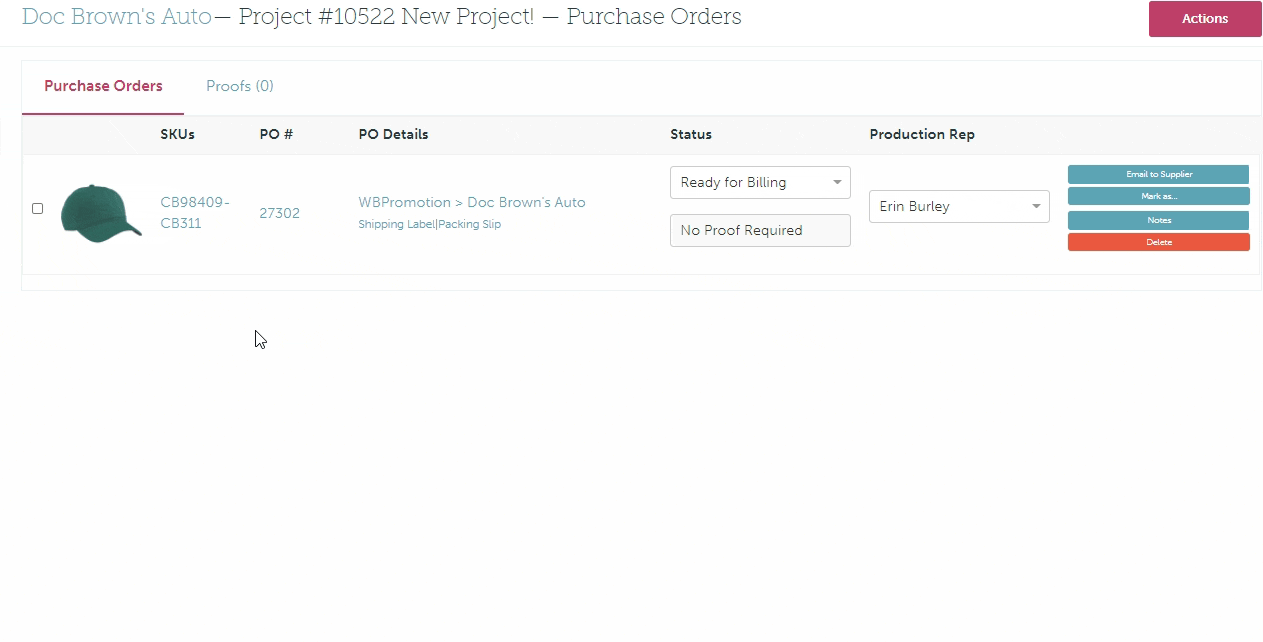
To upload a proof:
- Click into the Purchase Orders tab > Proofs
- Click Upload Proof beside the relevant purchase order and upload the proof by either
- clicking Project Files > select the file
- clicking Client Files > filter through the folders (optional) > select the file
- clicking Upload > select the file by dragging and dropping or click within the blue lines to load from your computer > click Done > click Cancel
Uploading a file will automatically check off the "All Proofs Uploaded" box and remove the "Select Files" button. If you need to upload additional proofs, deselect the box next to "All Proofs Uploaded" and upload proofs as needed.
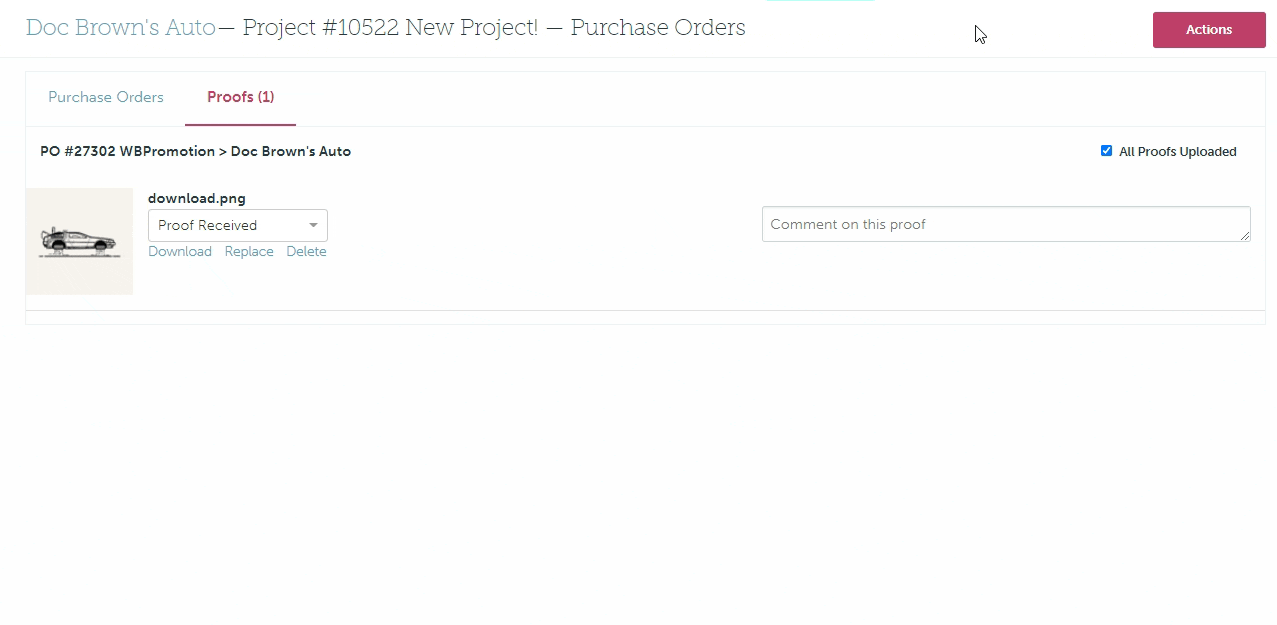
Downloading, replacing, deleting, and commenting on proofs
Once you've uploaded your proof file, you can:
- Click Download to download the file
- Click Replace to replace the file
- Click Delete to delete the file
- Leave a comment on the proof for your client
.png?width=688&height=155&name=Doc-Brown-s-Auto-Project-10522-New-Project-%20(46).png)
commonsku Tip: Use the comment section to encourage your client to download a copy of the proof!
Proof Approval
Learn more about:
- Previewing the proof approval form
- Emailing the proof approval form
- Your client's interaction with their proofs
- Email notifications
To preview the proof approval form:
- In the Purchase Orders tab, click Actions
- Select Preview Proof Approval
.png?width=688&height=186&name=Doc-Brown-s-Auto-Project-10522-New-Project-%20(47).png)
To email a proof approval form to your client:
- In the Purchase Orders tab, click Actions
- Click Email Proof Approval
- Make your email options selections
- Compose your email
- Click Send Email
The proof's live link automatically populates in the email's message body and is also accessible by previewing the presentation and copying the URL. The live link is always updating, which allows your client to comment on, accept, and request changes on their proofs and shows updates in real-time.
Proofs only send as live links. Do not remove the link from the proof approval email.
While viewing the proof approval form, your client can:
- Download proof file(s) (highly recommended)
- See comments you added to the proof(s)
- Request a change or approve their proof(s)

When your client clicks to Request Change or Approve their proof, a pop-up will appear to add their name, email, and any comments they have about the proof. They can then click Done to submit their change request/approval and comments.
Email notifications
Each time your client requests a change or approves a proof form:
- The project's order rep will receive an email notification noting the name and comments of the person who requested a change/ approved the proof
- The purchase order's production rep will receive an email notification stating the name and comments of the person who requested a change/ approved the proof
Proofing Complete
Suppliers are not part of your live proof forms. Proofs are a private interaction between you and your client.
Once your client has approved the proof:
- Contact the supplier/decorator and let them know
- Manually change the proof's status to Proofing Complete to indicate that you've informed the supplier/decorator that the proof is approved.