On this page:
How to edit a supplier's details
Website and Website User Name and Password
How to edit a supplier's details
To edit a supplier's details:
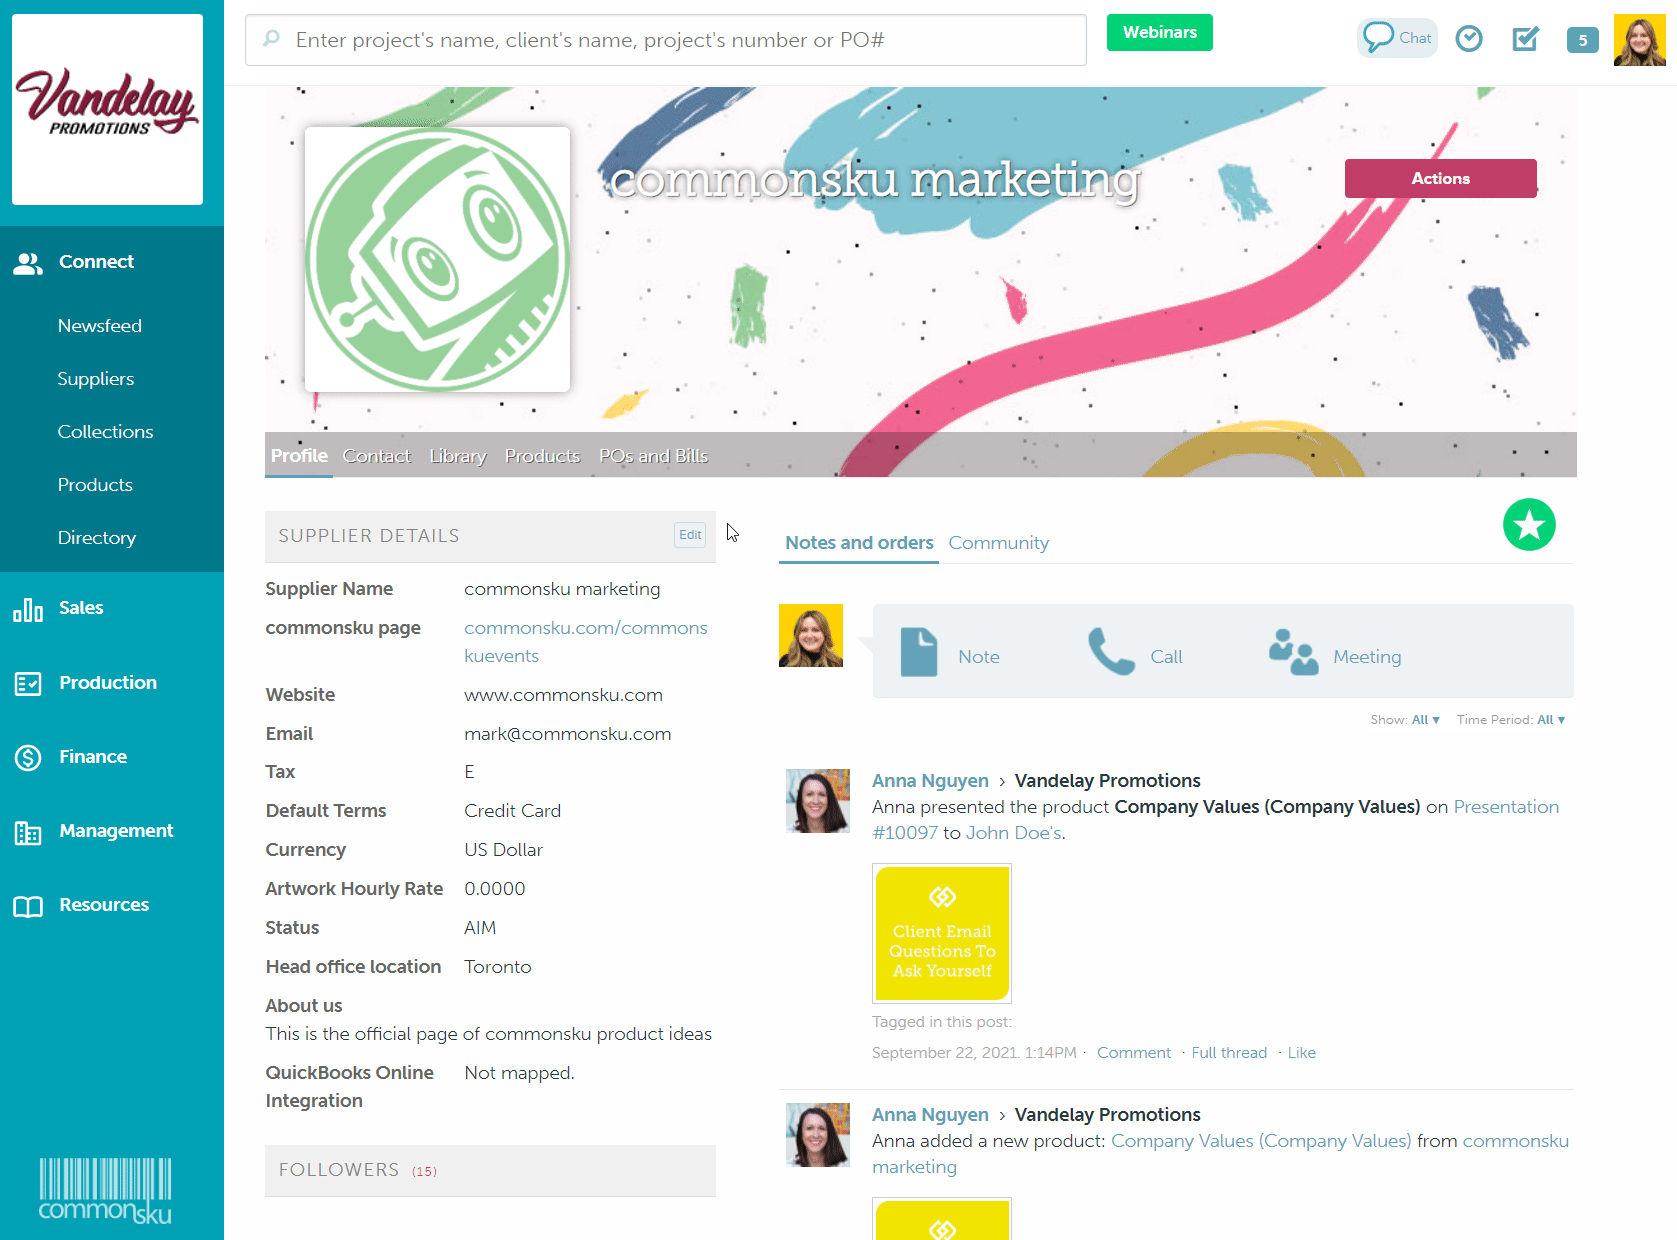
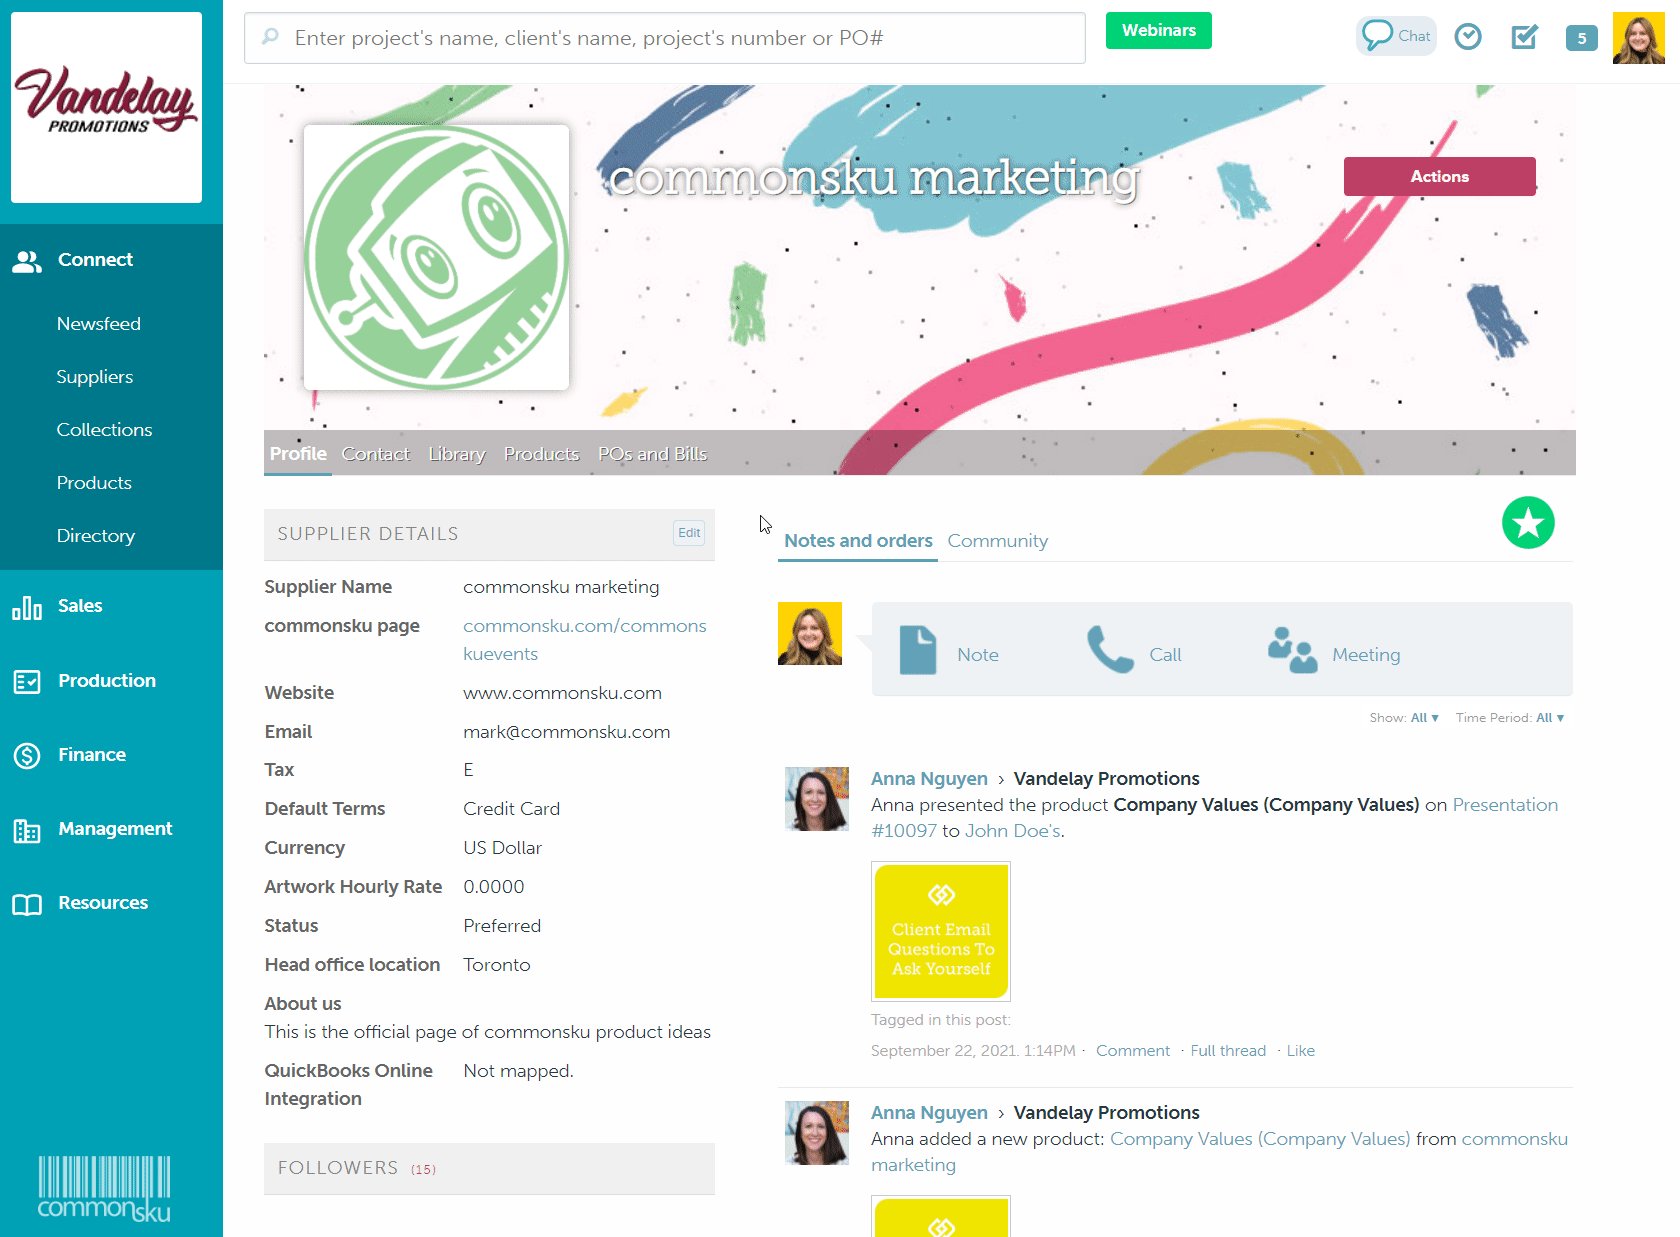
- In the supplier page's Profile tab, click to Edit the Supplier Details
- Make your changes
- Click Save

Information added to the supplier's details is private and only visible to you and your team. Other distributors cannot see the information you've entered on a supplier's page.
Account number
The account number is assigned to your team by the supplier; your account number appears at the top of the supplier's purchase orders.
Contact numbers
The work/home/cell/fax number is the supplier's general contact information. Click the ![]() icon beside a supplier contact's name to add their personal work/home/cell/fax number.
icon beside a supplier contact's name to add their personal work/home/cell/fax number.
Website and Website User Name and Password
You can capture the supplier's website and your username and password for their website.
Courier and Courier Account
Click the drop-down, select the supplier's preferred shipment method, and enter the account number. The shipment method is for reference only and does not default as the supplier's products' shipping method in a project.
FOB Point
Type your Free on Board terms with the supplier - this term is used to indicate who is liable for goods damaged or destroyed during shipping.
Tax
commonsku adds an "Exempt" tax code for you automatically, but you can create new tax codes through your Profile icon (top right corner of commonsku) > Settings > Company Settings > Setup > Taxes.
To set a supplier's default tax:
- In the supplier page's Profile tab, click to Edit the Supplier Details
- Select a tax rate from the "Tax" drop-down menu
- Click Save

Default terms
You can create and customize payment terms through your Profile icon (top right corner of commonsku) > Settings > Company Settings > Setup > Payment Terms. Once you've updated your terms list, you can assign default payment terms to each supplier account.
To set your payment terms with a supplier:
- In the supplier page's Profile tab, click to Edit the Supplier Details
- Select a payment term from the "Default Terms" drop-down menu
- Click Save

Currency
Click the currency drop-down to select your client's currency.
The best practice is to create separate supplier pages for each currency your supplier sells in.
Artwork hourly rate
Enter the hourly rate the supplier charges for artwork production.
Cost column pricing
Click the drop-down to select your column pricing. The pricing is for reference only and does not automatically change an item's cost when sourcing products from a database.
Status
Supplier statuses are used as a filter in the Suppliers tab; they help sort your supplier accounts on a macro level, so you can quickly identify your preferred suppliers, which suppliers are part of a buying group (AIM), etc.
Once you've created supplier statuses, you can assign them to a supplier by:
- In the supplier page's Profile tab, click to Edit the Supplier Details
- Select a status from the "Status" drop-down menu
- Click Save
Entity Use Code
Enter an Entity Use Code if needed - Entity Use Codes are a method for keeping track of tax-exempt customer transactions. Make sure to assign an Entity use code if you're using our Avalara integration.
Tags
Supplier tags are used as a filter in the Suppliers tab; they help sort your supplier accounts on a micro level, so you can quickly identify which suppliers you have EQP with, which suppliers offer free samples, etc.
To create a supplier tag:
- In the supplier page's Profile tab, click to Edit the Supplier Details
- Click the text field for Tags
- Type your tag(s) into the field
- Click Save