On this page:
How to access the Production Report
Add or remove columns from your report
Set a Next Action Type and Next Action Date
How to access the Production Report
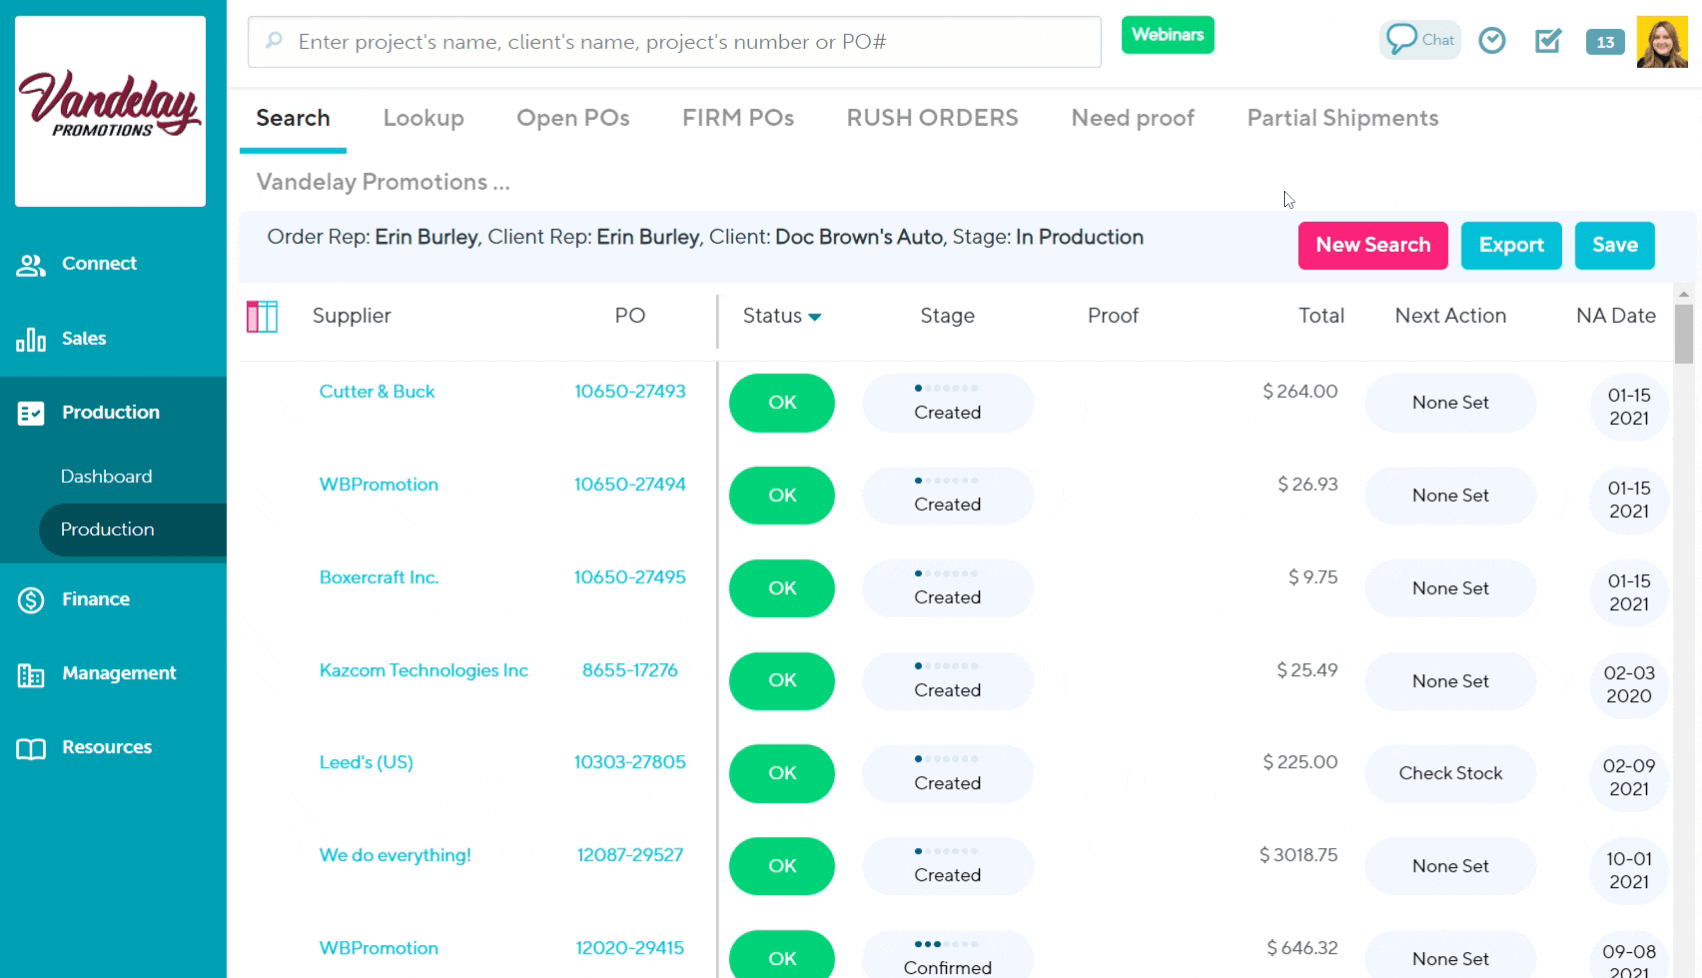
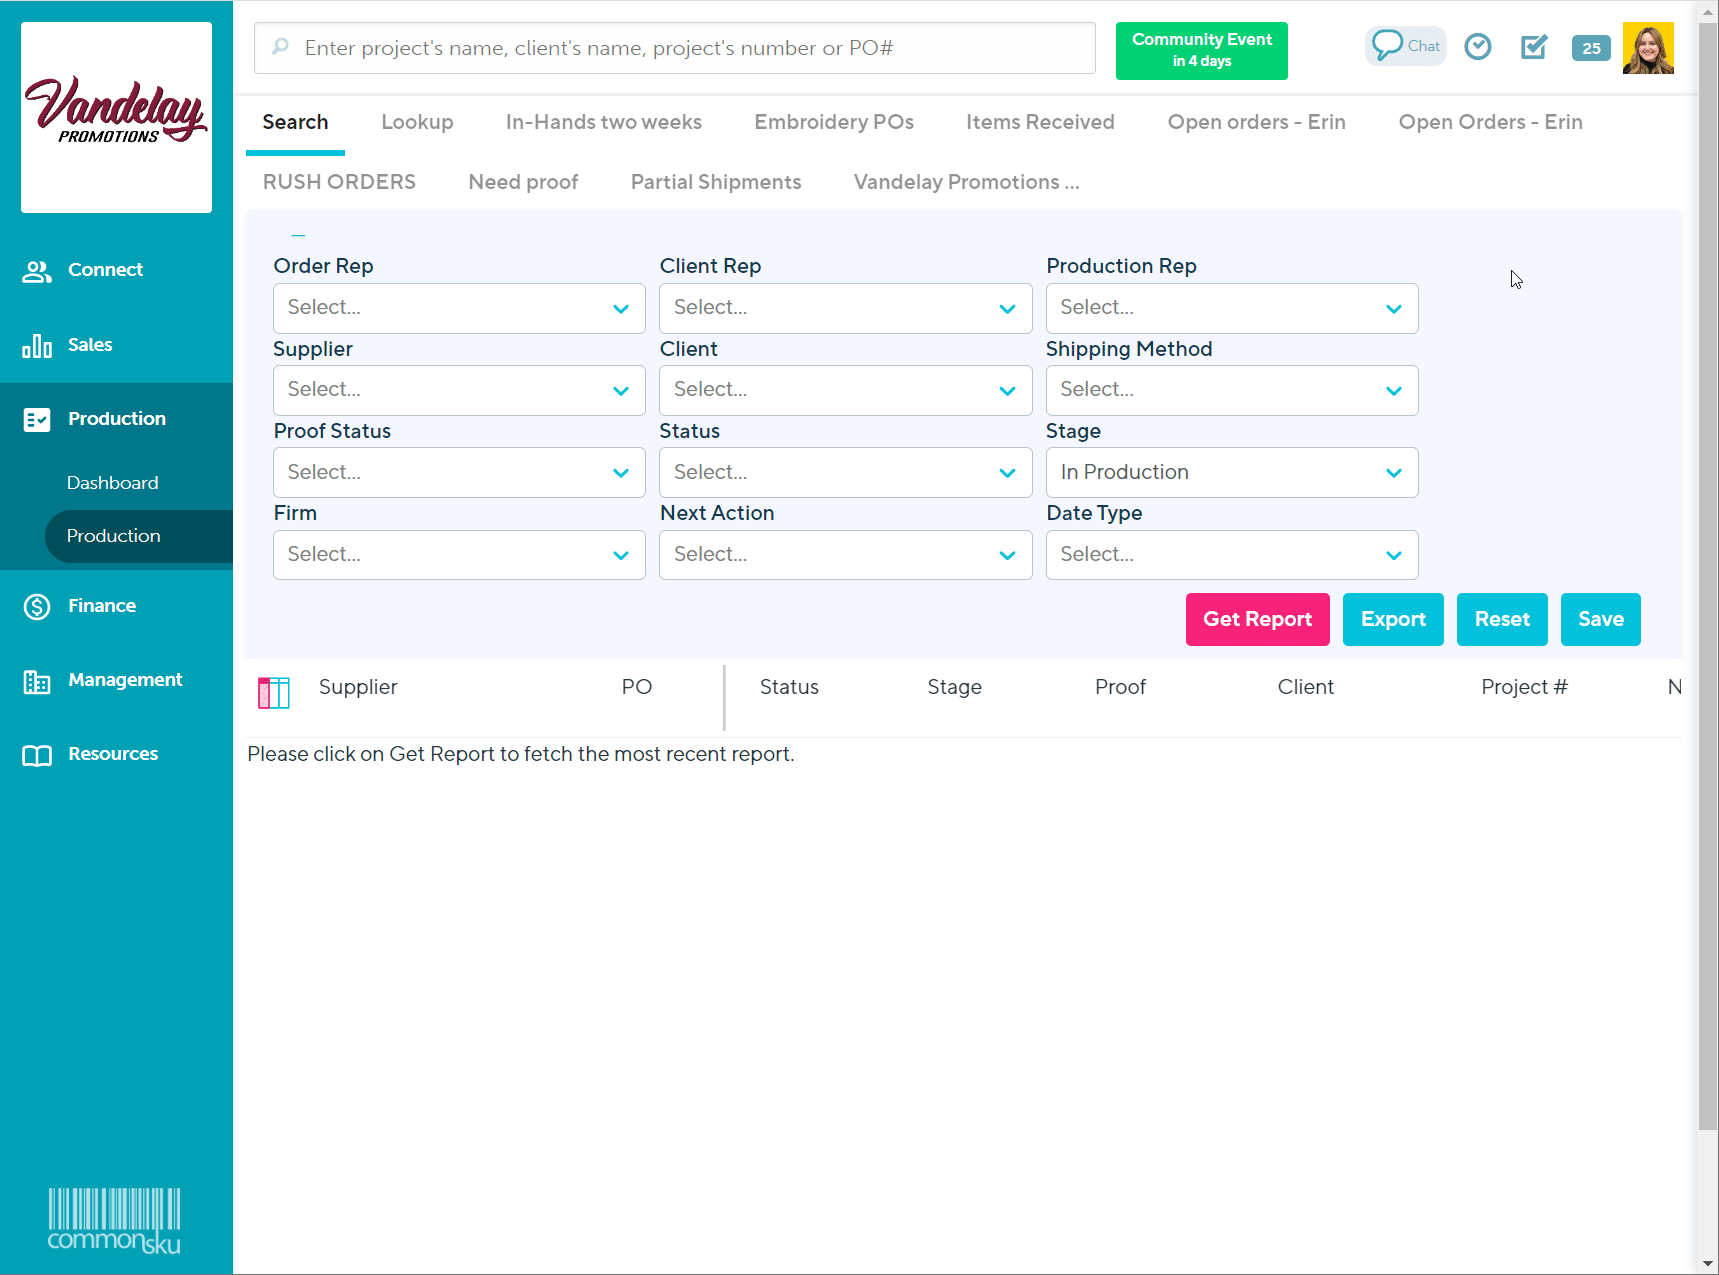
To access the Production Report, click the Production tab > Select Production. Users who require access to the Production tab will require the permission "View Production Menu" assigned to their role type (Management > Admin > Permissions).
-png.png?width=670&height=327&name=Operation-Production%20(8)-png.png)
How to pull a report
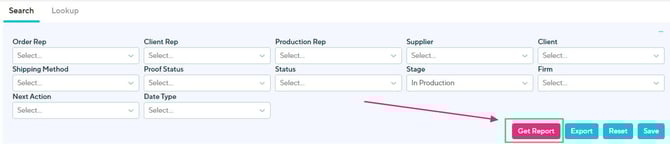
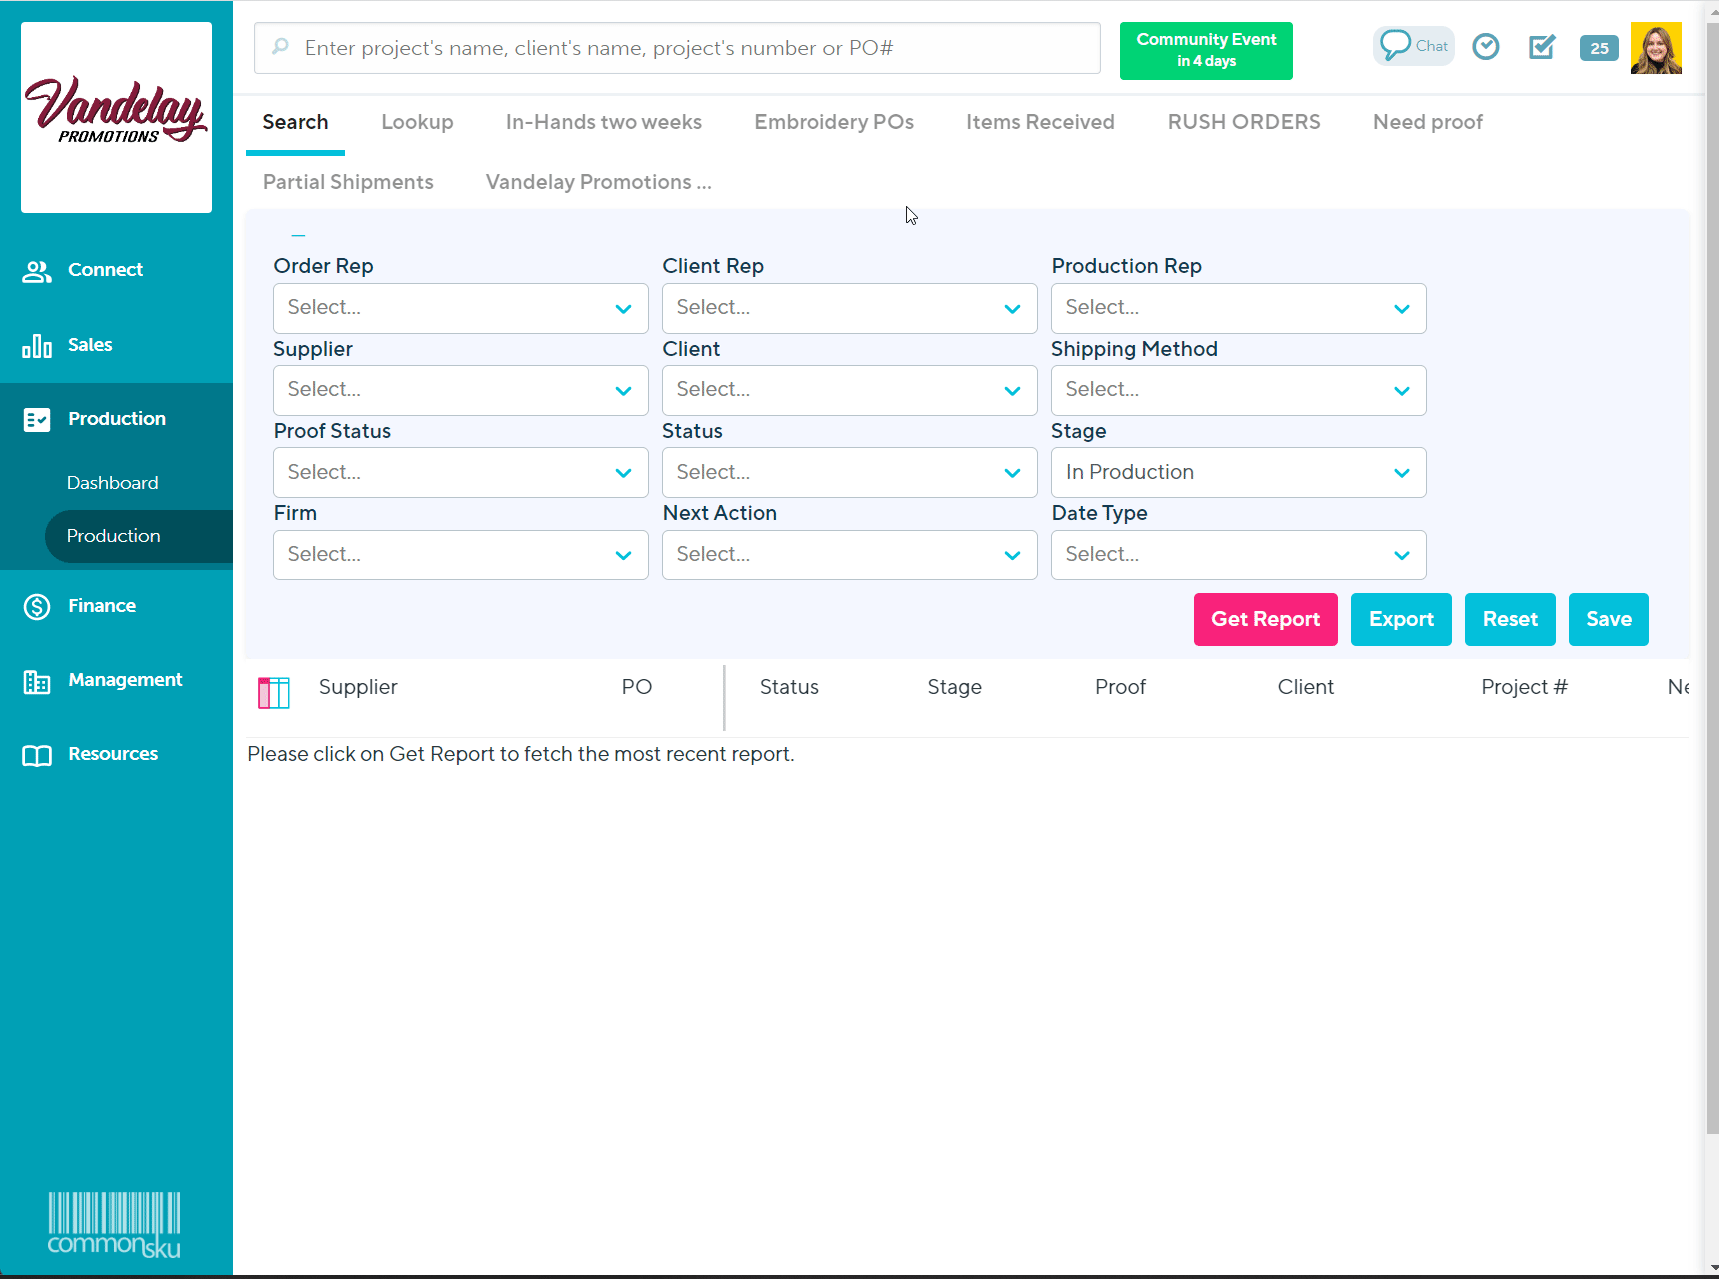
You can pull a report through the Search or Lookup filters.
Once you have selected your report filters, click Get Report.
To reset all of your filters back to the default, click Reset.
How to sort a report
Once you have pulled a report, click on a column title to sort that column by alphabetical or numerical order.
Create custom reports
You can save specific Search filter selections and create your custom Production Reports. Your custom reports are only available under your login; they are not shared across your entire team.
Learn how to:
- Create a custom report
- Save an Open Purchase Orders report (POs with stages from Created to Ready for Billing)
- Save a Purchase Orders In Production report (POs with stages from Created to Confirmed)
- Make changes to a saved report
- Delete a saved report
To create a custom report:
- Select your preferred filters on the Search tab
- Click Save
- In the "Save View" pop-up, enter a report name
- Click Save
Your saved reports appear at the top of the production screen. Click the report's name to generate a report with your saved filters.
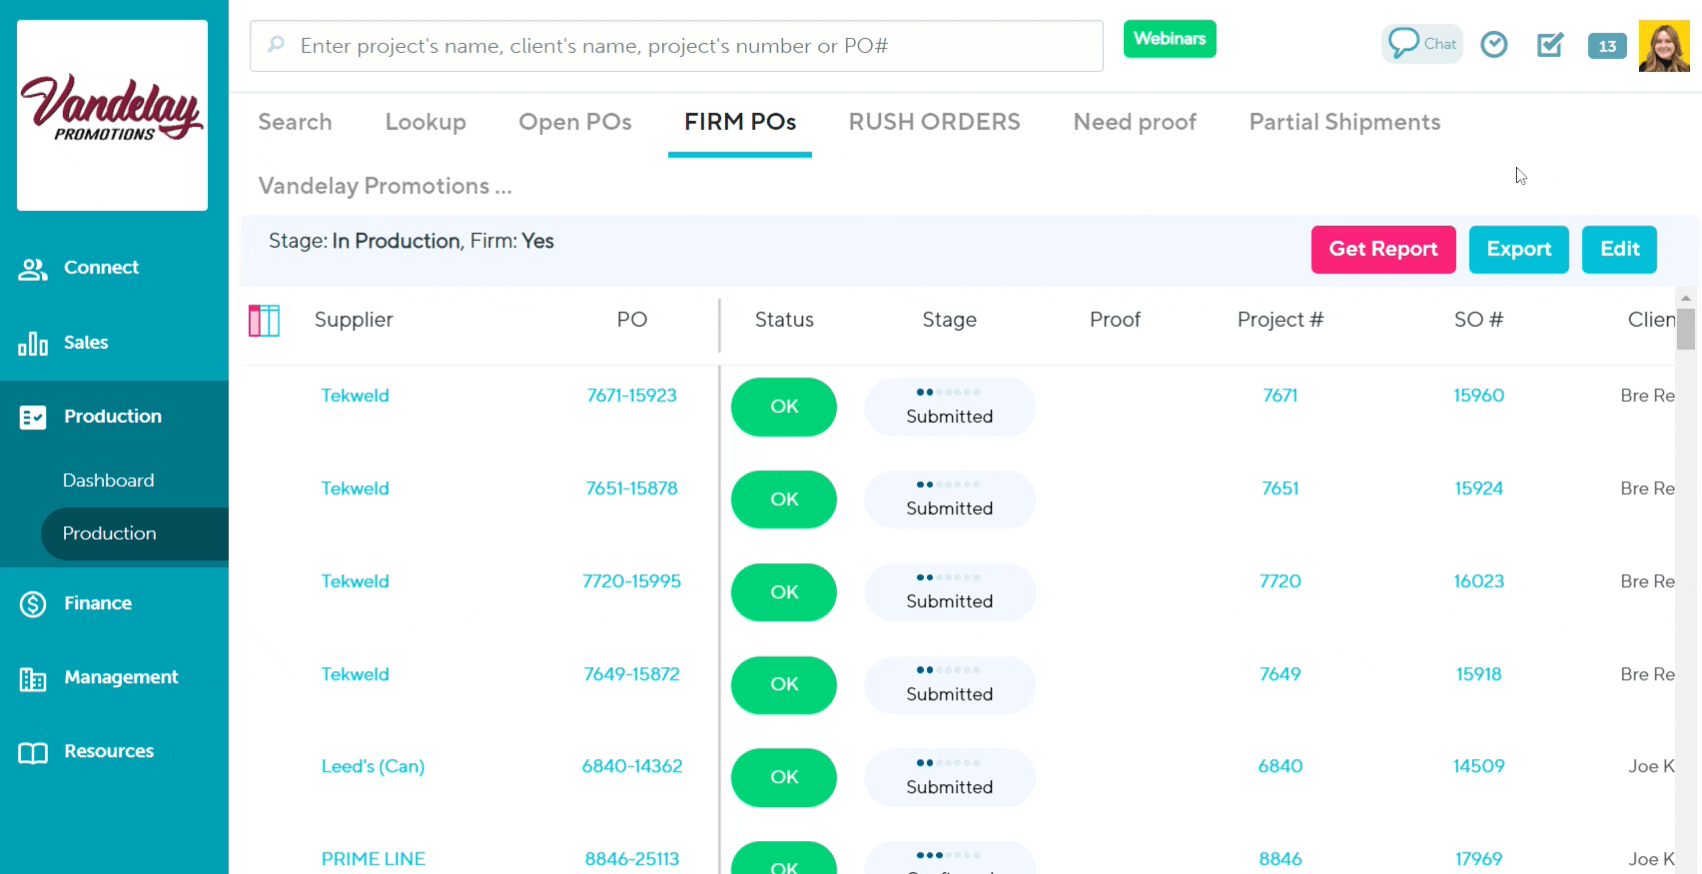
To save an Open purchase orders report:
- Click the "Stage" drop-down and select Open
- Select your other filters; for example, enter yourself into the Order Rep field if you want to see your purchase orders that are in production (optional)
- Click Get Report
- Click Save
- In the "Save View" pop-up, enter a report name
- Click Save
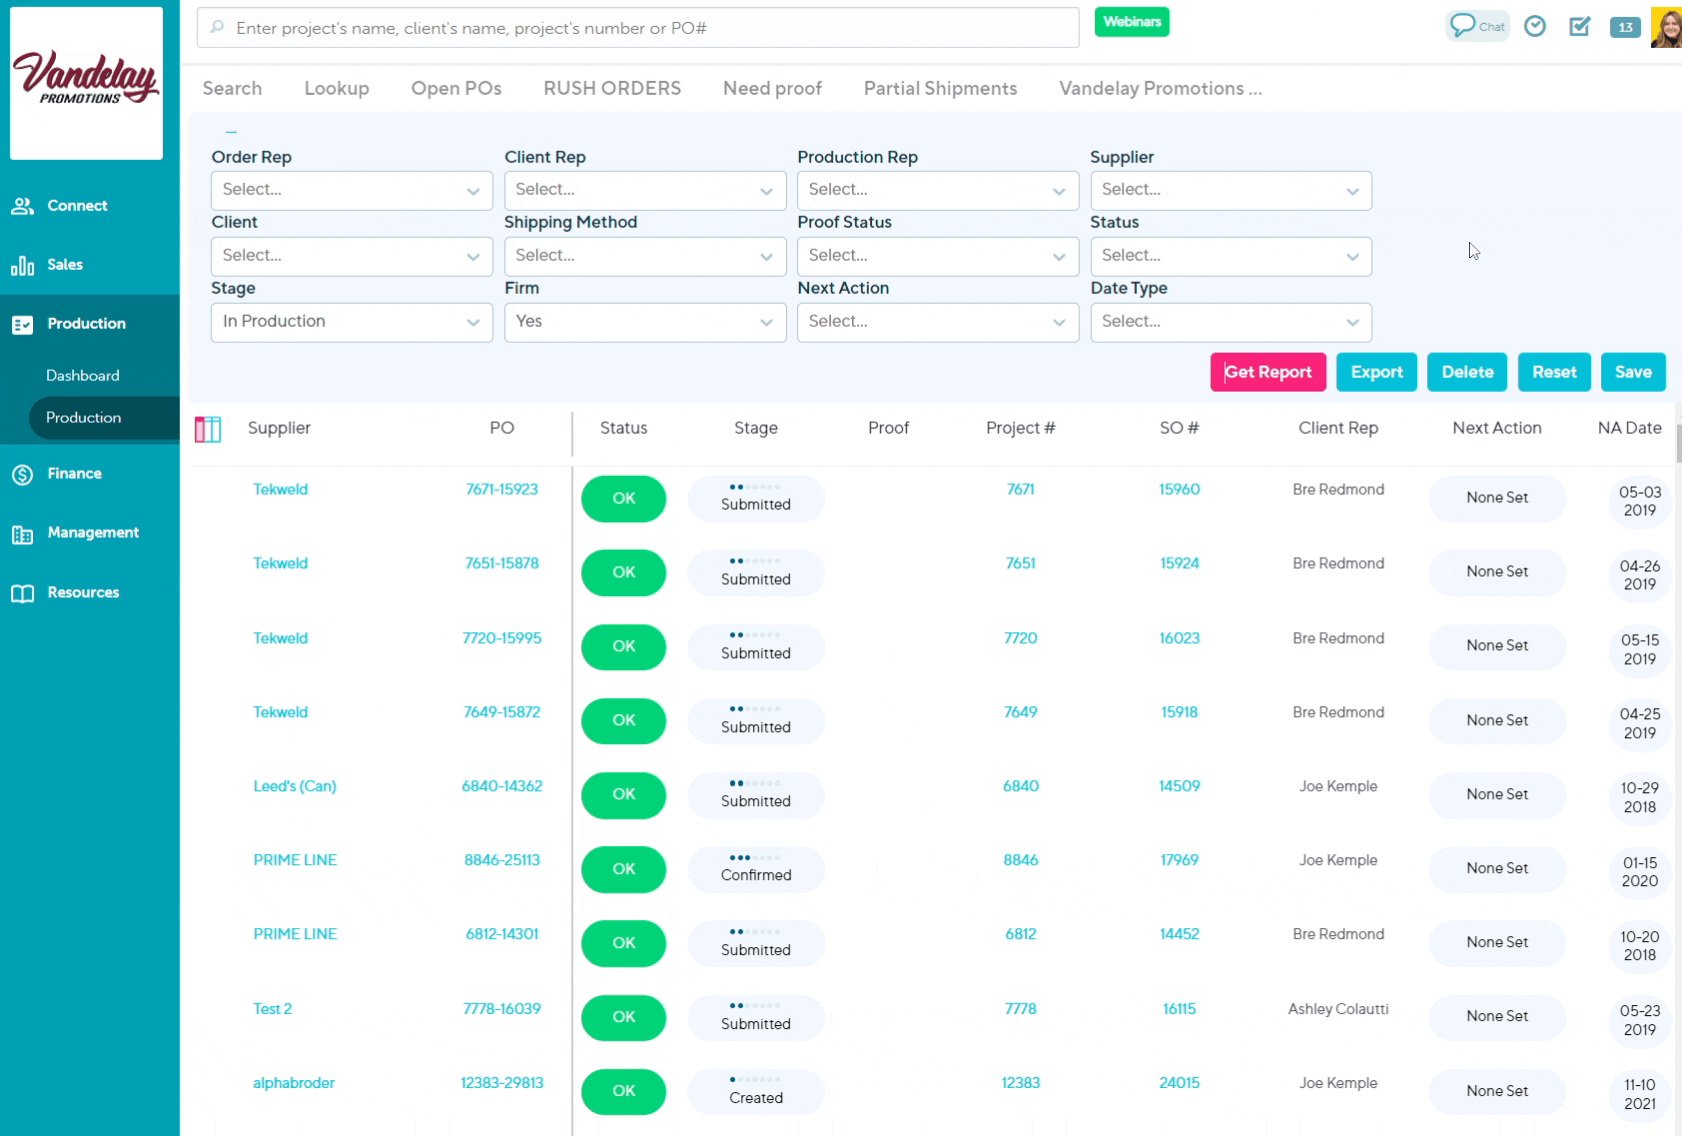
To save a Purchase Orders in Production Report:
- Click the Stage drop-down > select In Production
- Select yourself from the "Order rep" drop-down
- Select In Production from the "Stage" drop-down
- Click Get Report
- Click Save
- Give the new report a name
- Click Save
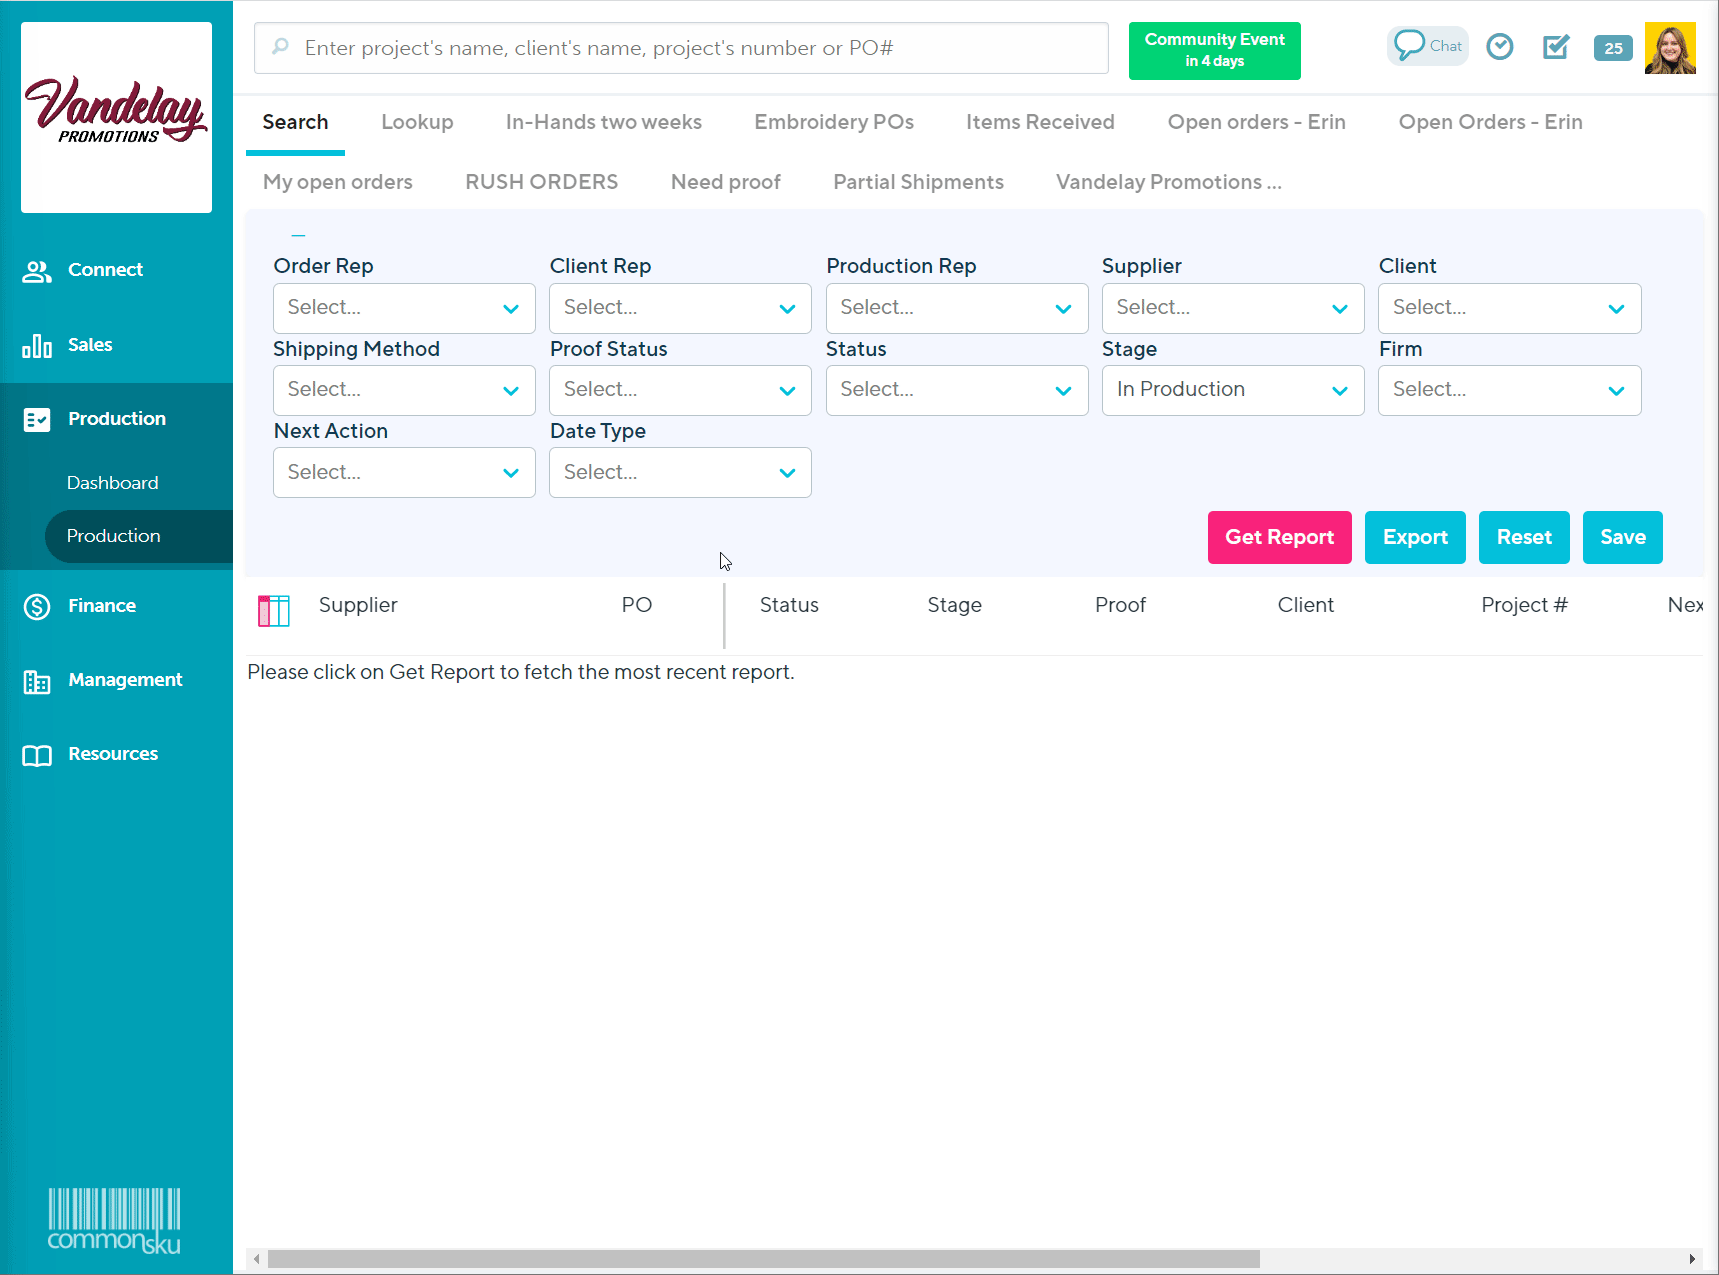
To make changes to a saved report:
- Open the report and click Edit
- Make changes as needed
- Click Save
-png.png?width=670&height=399&name=Operation-Production%20(4)-png.png)
To delete a saved report:
- Open the report and click Edit
- Select Delete
- Click Yes
Add or remove columns from your report
Besides saving custom filters (creating custom reports), you can also adjust which columns display on your reports. To adjust which columns display in your report, click the ![]() icon. From there, you can select or deselect the check-boxes next to the column titles to add or remove them from your report.
icon. From there, you can select or deselect the check-boxes next to the column titles to add or remove them from your report.
You can also drag and drop columns to change the order they appear on your report. To do this:
- Click and hold the title of a column
- Drag and drop it to another position in the report
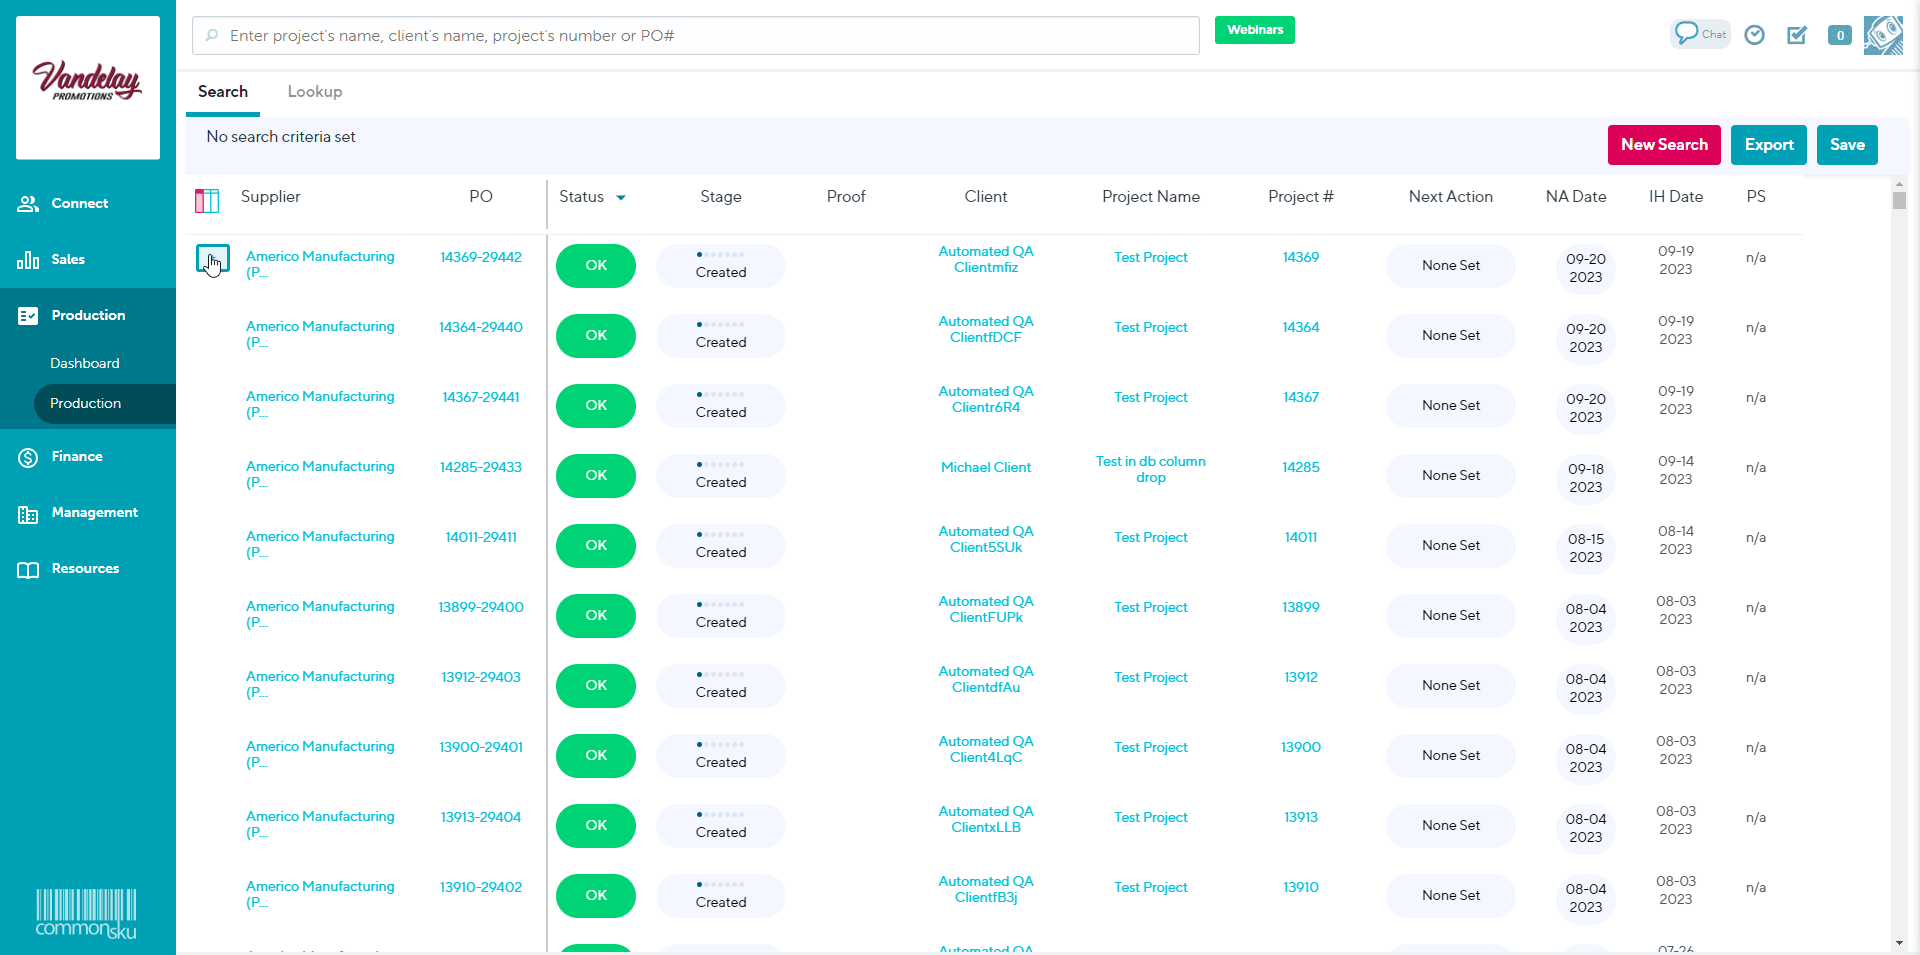
Purchase order statuses
You can filter your report to see only purchase orders with one of the following statuses:
- OK
- Problem
- Follow Up
Some of the purchase order statuses are automatically applied, but they may also require manual updates.
To change a purchase order's status:
- Enter your desired filters > Get Report
- Click the current status (defaults to "OK")
- Select the relevant status from the drop-down
-png-1.png?width=670&height=368&name=Operation-Production%20(5)-png-1.png)
Purchase order stage
You can filter your report to see only purchase orders in one of the following stages:
- Open
- In Production
- Created
- Submitted
- Confirmed
- Shipped
- Ready for Billing
- Closed
- Billed
Some of the purchase order stages are automatically applied, but others require manual updates.
To change the stage of a purchase order from the Production Report:
- Enter your desired filters > Get Report
- Click the current stage
- Select the relevant stage from the drop-down
-png-1.png?width=670&height=409&name=Operation-Production%20(6)-png-1.png)
Proof status
The Production Reports "Proof" column indicates the status of your proofs with the following icons:
 - Awaiting proof.
 - Proof received.
 - Pending Approval.
 - Change Requested.
 - Client Approved.
 - Proofing Complete.
Purchase orders that don't require a proof will not display an icon.
To manage proofs from the Production Report:
- Click the purchase order's proofing icon (shown above) to prompt the right slide-out menu, or
- Hover over the purchase order > clicking the
 on the left-hand side of the report to prompt the right slide-out menu > select the Proofing tab
-gif-1.gif?width=670&height=343&name=recording%20(21)-gif-1.gif)
Set a Next Action Type and Next Action Date
Next Actions Types and Next Actions Dates help track what needs to be done with a purchase order. Your team's Next Action Types are created in your Company Settings.. From there, you can select them from the Production Report's drop-down list.
To change the "Next Action" for a purchase order:
- Click the current "Next Action" (defaults to "No Action Required") and select a Next Action Type from the drop-down
-png.png?width=670&height=245&name=Operation-Production%20(15)-png.png)
The Next Action Date defaults to the day after the purchase order was created.
To change the Action Date:
- Click the current "Action Date" and select a new date from the calendar
-png-1.png?width=670&height=317&name=Operation-Production%20(16)-png-1.png)
PromoStandards
Order Status and Order Shipment Notification details are only available from suppliers who those PromoStandards endpoints. In the Production Report, click the ![]() icon to view the POs Order Status details.
icon to view the POs Order Status details.
[Back to top]
Slide-out menu
Click the ![]() on the far left of the report to open the purchase order's slide-out menu.
on the far left of the report to open the purchase order's slide-out menu.
-png.png?width=670&height=249&name=Operation-Production%20(17)-png.png)
The slide-out menu consists of the:
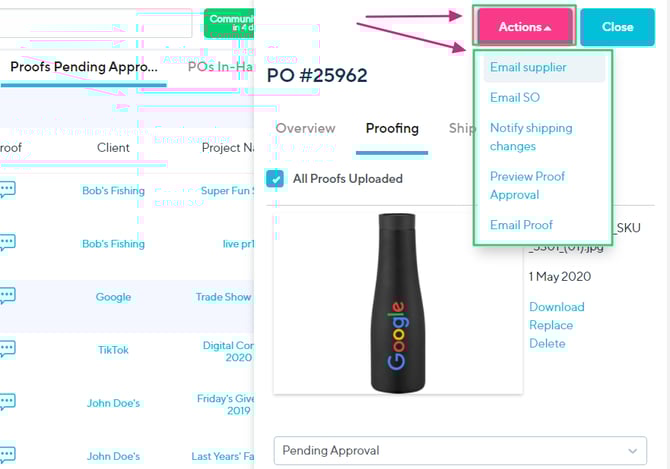
Actions button
Click the Actions button to:
- Email supplier/Send ePO to supplier - Email the supplier's purchase order or submit the ePO. If you've already submitted the ePO, this option will automatically change to "Email supplier."
- Email SO - Email the client. The sales order's email options are available in the outgoing email.
- Notify Shipping Changes - Notifies the project's order rep that shipping details have been updated.
- Preview Proof Approval - Opens the proof approval form in a separate tab (only available in the purchase order's Proofing tab).
- Email Proof Approval - Email the proof approval to the client (only available in the purchase order's Proofing tab).
Your slide out menu has four different tabs where you can view and edit a POs details:
Overview
From the Overview tab, you can:
- Track order updates
- Add notes and files to the PO
- Pin, comment on, and delete logs on the newsfeed
- @ mention other team members
- Create and manage tasks for yourself and your team
Track order updates on the newsfeed:
The Overview tab displays a date and time-stamped log of all:
- Notes and files attached to the purchase order
- Tasks added to the PO
- Purchase order-related emails sent from the production report
- Manual purchase order status or stage changes
- Next action type changes on the PO
- When the purchase order is approved, as well as who approved the PO (Confirmed stage)
- When a change is requested on the purchase order, as well as who requested the change (Problem status)
- When a proof automatically updates to either Client Approved or Change Requested, as well as who approved the proof or requested the change
Adding notes and files on a purchase order
To add a note to the purchase order:
- Click Add Note
- Type your note into the text field
- Click Select Files to attach a file (optional)
- Click Create Note
Pinning, commenting on, and deleting logs on the newsfeed
You can pin any post or log in the PO newsfeed so that it appears at the very top of the feed.
To pin a post:
- Find the post you need
- Click the
 icon
icon
The pinned post will now appear at the top of the feed and can be identified as a pinned post by the blue line appearing on the left-hand side.
To unpin a pinned post:
- Locate the pinned post
- Click the
 icon
icon
To leave a comment on a post:
- Click
 on the relevant post
 - Type your comment into the "Comment on this message..." text field
- Click Comment
To delete a post from the newsfeed:
- Find the post you need
- Click the
 icon
icon - Click OK in the browser pop-up
The post will now be permanently removed from the newsfeed.
Notes, tasks, and other logged activities can only be deleted by the user who created them. Along with a date and time stamp, all entries on the PO will note which user is responsible for the update. Individual comments on posts cannot be deleted.
You can delete a manual status or stage change but cannot delete logs for status or stage changes made by other team members.
@ mentioning a team member
You can use the notes section to @ mention a team member.
Creating a task
To create a task:
- Click the Add Task button
- Select a due date for your task
- Select a user to assign the task to (this can be yourself or another team member)
- Add the details of your task into the "Post a note about this project" text field
- Click Create Task
Tasks are automatically logged on the project newsfeed, in the Projects tab, and your Dashboards (Sales, Production, Finance, or Management).
Proofing
The Proofing tab allows you to manage the purchase order's proofs directly from the Production Report.
-png.png?width=670&height=285&name=Operation-Production%20(18)-png.png)
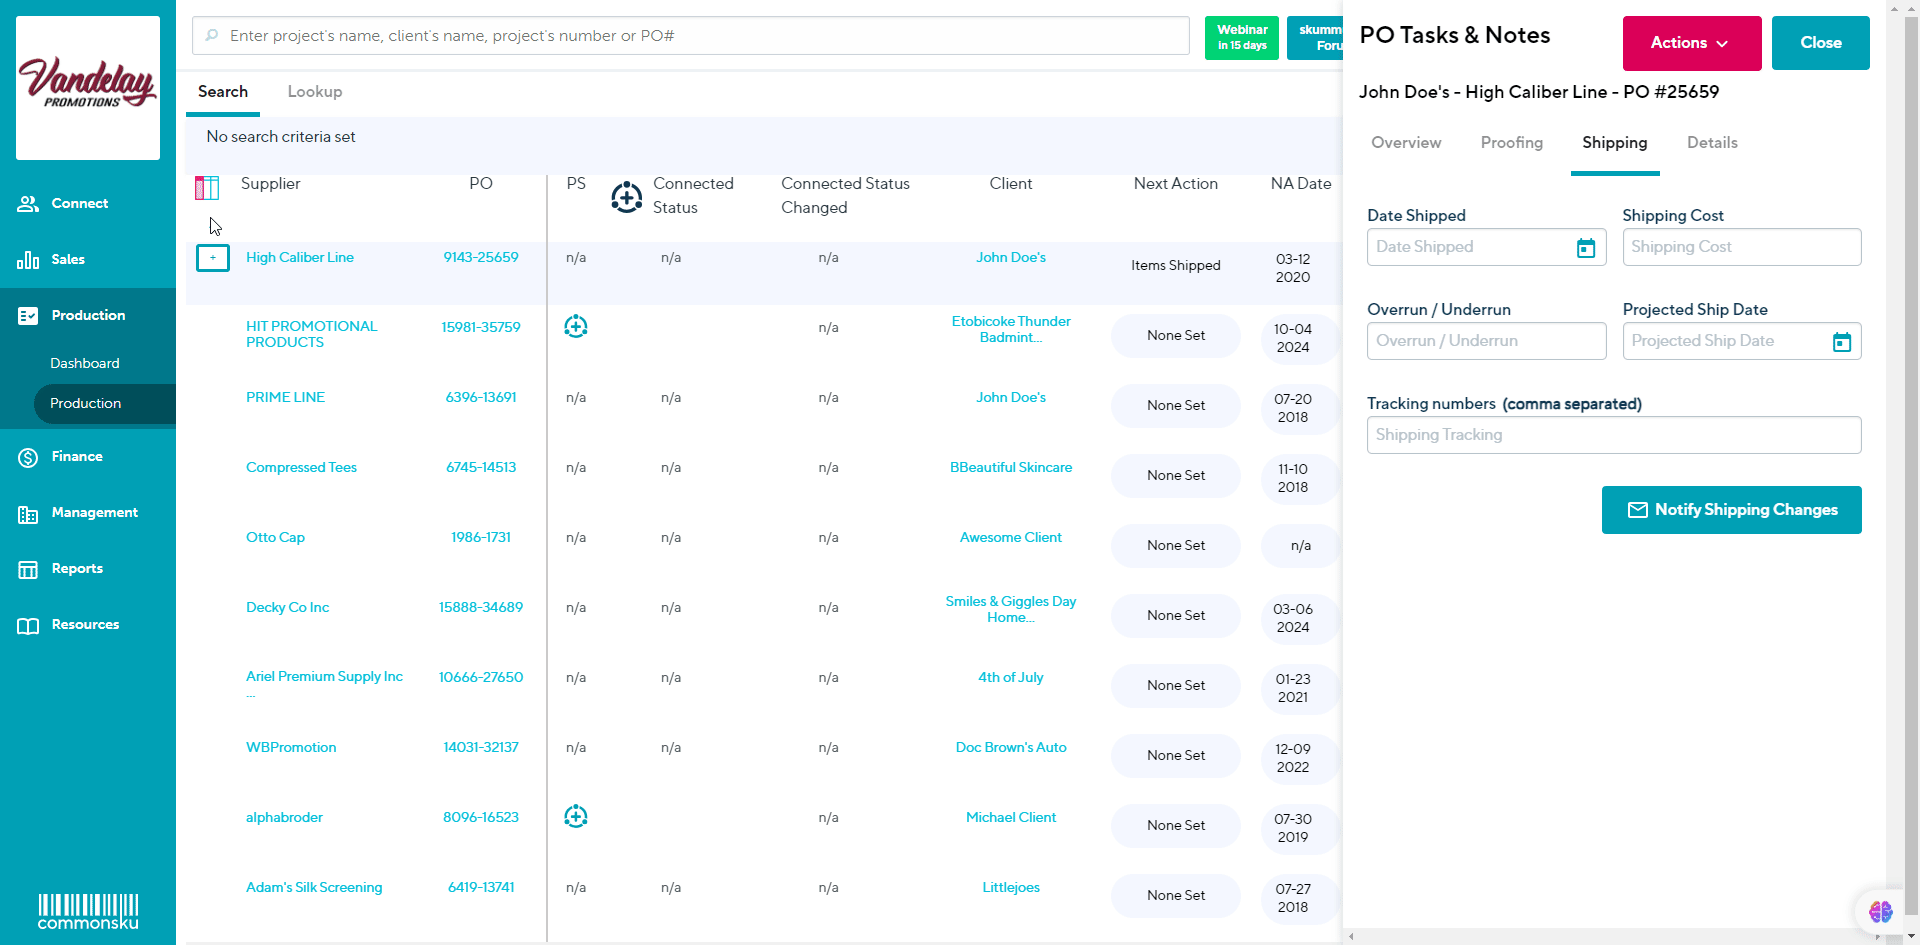
Shipping
Use the Shipping tab to record the purchase order's shipping details.
-png.png?width=670&height=250&name=Operation-Production%20(19)-png.png)
Details
The Details tab displays:
- Rep - the project's client rep on the project.
- Total - the total dollar value of the purchase order.
- In Hands Date - the purchase order's in-hands date.
- Stage - the purchase order's stage.
- Next Action Date - the purchase order's Next Action Date.
- Supplier contact information
-png.png?width=670&height=260&name=Operation-Production%20(20)-png.png)
Shipping
Use the Shipping tab to record your purchase order's shipping details, including:
- Date Shipped - the date the purchase order was shipped.
- Shipping Cost - shipping costs (these costs are not automatically added to the project's sales order or invoice(s)).
- Overrun / Underrun - overruns or underruns on any products on the purchase order.
- Projected Ship Date - the purchase order's expected ship date.
- Shipping Tracking - the purchase order's tracking ID(s). Tracking ID(s) are shown in the Project Portal's Order Status tracker.
- Notify Shipping changes - this button allows you to notify by email the tracking number, products that shipped, and a link to the project portal to either your order rep or the client's shipping contact or both.
If your team has selected to display a purchase order's Shipping Date instead of an In-Hands Date (Management > Admin > Settings > Other Options > Default PO Date Option), the PO's Projected Ship Date will automatically default to the indicated shipping date.
Details added to the Shipping tab are also displayed in the project's Purchase Orders tab.
To access the shipping tab:
- Hover over the purchase order and click the
 on the left-hand side of the report to prompt the slide-out menu
Click the Shipping tab
Notify Shipping Changes:
To Notify shipping changes:
1. Add your shipping tracking number in the shipping tracking field
2. Click on the Notify Shipping Changes button:
3. Select to Notify either your order rep or the client's shipping contact or both
4. You may also choose to notify additional contacts by selecting the contacts from the drop down or enter any email addresses for individuals outside of the client page. (optional)
4. Click Send
FAQ
- Can I notify or CC other contacts other than the ones in the client page?
- What does the email notification for shipping changes look like to the client's shipping contact?
Can I notify or CC other contacts other than the ones in the client page?
Yes. Simply type in their email address and add them in the list before submitting send.
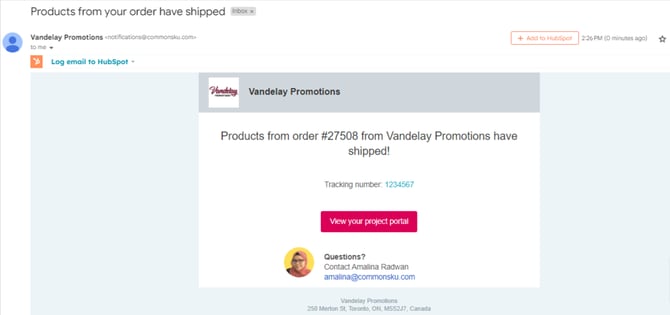
What does the email notification for shipping changes look like to the client's shipping contact?
Your client's shipping contact will receive an email notification below: